I have to admit that I have been playing an incredible amount of guitar over the past few weeks. That has left little time for electronics work, but I did find time to build a little boost pedal. I was buying some parts I needed from Tayda, https://www.taydaelectronics.com/, and I usually pick up a guitar pedal enclosure or two when I order there. So, I bought this a month or two ago and finally looked at building it just a few days ago.
Check out the build guide and schematic here: https://www.taydakits.com/instructions/linear-power-booster/pages/designators-and-components–8

One PCB, Several Configurations
What I didn’t realize at the time I purchased it, is that you can build it several different ways and get different “flavors” of boost tone. As I looked at the options, one stood out to me – the Brian May Booster. Brian is the guitarist for the band Queen. His guitar tone is legendary, so I immediately started assembling that version.
Tayda offers a wide selection of PCBs, parts, and pedal enclosures. You can even order them painted and drilled if you would like to. For my project, I bought the enclosure painted, but not drilled out. I also ordered several parts from them, but I also have quite a large stash of various parts.
Assembly and Testing

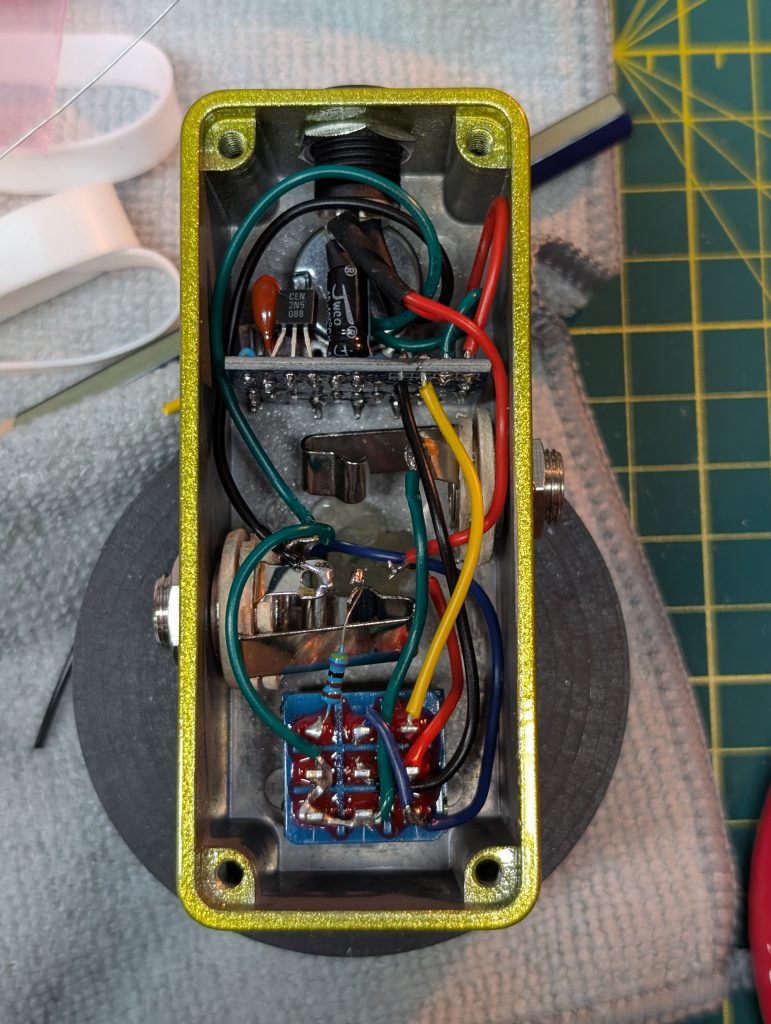
The assembly is compact for this build. The small circuit board with single potentiometer is mounted in the top section, along with the DC input jack. In the middle, we have the input and output jacks with an LED nestled in between them. Down at the bottom is the footswitch. I used 24 gauge stranded wire for all of the connections. I have learned my lesson about wire and stranded vs. solid. Solid wires tend to break easily and are too stiff to bend into place. One mistake I made was that I initially wired the LED backwards and it did not illuminate. It was an easy fix, but still was troubling when I first connected it and saw no reaction from the LED. To test my work, I simply connected a 9V battery across the LED and resistor. I realized then that I had connected the LED backwards, de-soldered the resistor and V+ wire from it, swapped the two and soldered it back.
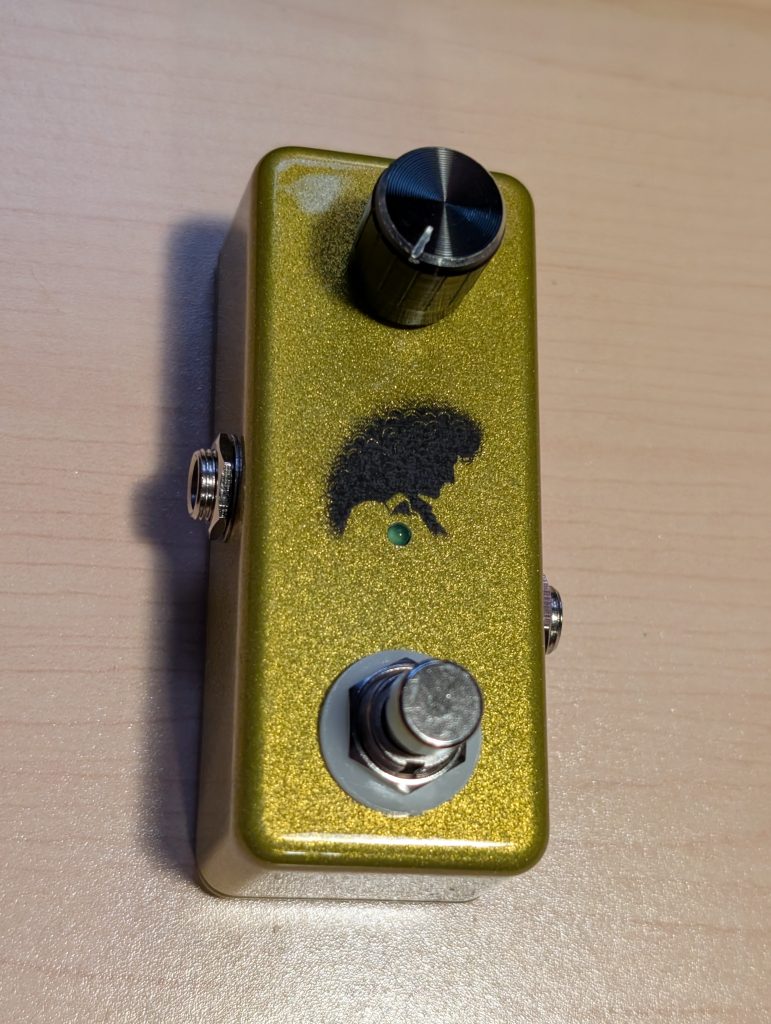
I didn’t intentionally select the metallic gold finish with the Brian May booster in mind, but I think it makes a bold statement and represents Queen properly. For the graphic, I actually asked ChatGPT for a pencil style drawing of Brian May. The first result was ok buy too complicated. I asked it to make it more simple. This resulted in a silhouette type of drawing, which I took into Photoshop and made a lot of adjustments to. There was a guitar in the image with 5 strings and hands with 3 fingers. That’s to be expected with AI, so I cropped, blended, blurred, edited, etc. Then I printed that onto a waterslide decal paper with a laser printer before carefully cutting out the graphic and applying it to the pedal enclosure. You could go an extra step and clear coat the enclosure to seal the decal in, but I did not. I’ve never had great luck with clear coating things.

The knob at the top is simply a volume knob. When using this pedal in a chain, it can really increase the gain and drive of the following pedals or amplifier. Even when used by itself, you do get some moderate break up saturation when it is turned up near the max. There is a lot of difference in the signal though, so you also need to adjust the amp equalizer and volume.
Conclusion
It’s quite rewarding to build something like this that has a bit of a custom flair to it, sounds amazing, and helps you learn more about audio electronics. I always learn things that will help with future projects. For this build, I bought a set of metric drill bits and that made this project much easier that some of my previous pedal build attempts. When drilling this enclosure, I stepped up my hole size by 2mm at a time until I got to the correct diameter. This really helped to keep the holes clean and precise. As if I don’t have enough going on already, I have been trying to learn QSPICE also. This is a simple circuit with several different boost configurations, so I think I can learn more by simulating it in QSPICE. If I think it is worth sharing, I will follow up with some info about that and I will be building some more pedals soon so stay tuned.
